

With any addition to your home, maintenance is something you’ll need to consider. Windows are no different, and in order to keep them looking and performing their best, there are a few things you will need to keep on top of. Most of these maintenance tasks simply involve cleaning the different parts of your window with the correct methods and products.
We’ve put together this guide to help you familiarise yourself with the different aspects of window maintenance, including inspection, cleaning, and repairing. Some of these tasks are of course more complex than others, but all can be completed by a budding DIY enthusiast. We will also cover what do to when you come across a task that may require the help of an expert.
The Basics of Window Cleaning
When it comes to regular cleaning of your windows, you will only need a few household cleaning items. However, it is best to purchase a set of these products exclusively for window cleaning. Mixing these with equipment that has been used elsewhere can lessen the effects of your cleaning efforts and even result in the spread of dirt and disease.
In order to give your window a regular clean – roughly once a fortnight – you will need:
- Mild detergent or window cleaner
- Brush or duster
- Bucket
- Soft cloth or sponge
- Squeegee
The process itself is fairly straightforward, and there is no secret to getting it right. There are some basic steps that will help bring out the best results, and we’ve outlined them below:
- Before you begin, use the brush or duster to remove any dust and/or debris from the window frame. The ease with which this can be done will depend on the condition of your windows – older wooden frames with flaking paint and eroding timber will be a lot more difficult to clean up. If your windows are in poor condition, consider contacting an expert for advice on whether or not the window should be replaced or repaired.
- Once your window has been cleared of debris, you can prepare your cleaning solution by mixing a mild detergent or window cleaner with water in a bucket. If you are unsure or working with an unfamiliar substance, always make sure that you follow the instructions on the packaging containing the formula.
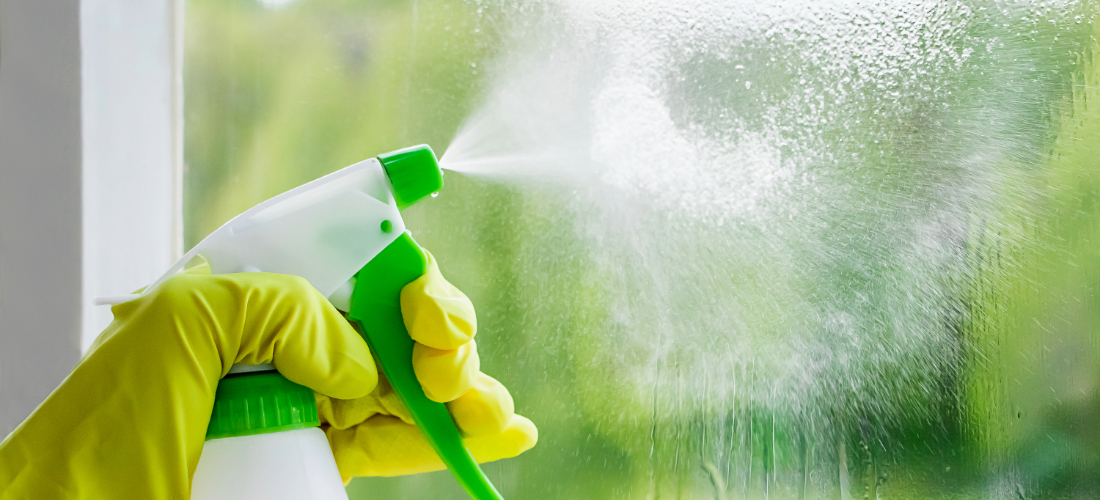
- Start by cleaning the glass – dip a sponge or softer cloth into the cleaning solution before wringing out excess water. Then, gently scrub the glass surface. When tackling tougher spots or grime, try using a squeegee to loosen and remove these unsightly clusters.
- Once the glass is clean, move onto the frame and sill. Use the same solution and wipe down the frame and sill thoroughly. Keep an eye out for corners and crevices, which are often skipped, and yet serve as the most likely places for dirt to congregate.
- With the detergent setting in enough to clean, rinse and dry the window thoroughly with clean water; be sure to remove any soap residue, as it can lead to staining and unappealing smudges. Use a clean squeegee or a lint-free cloth to get the glass dry.
Window Seal Maintenance
Window seals are another part of your window that can look rather unattractive if left ill-maintained for a lengthy period of time. Considering the important role, they play in keeping your window performing, it is important to ensure that they are kept in good shape. A monthly inspection will help with this, with repairs taking place when necessary.
When you’re carrying out an inspection, it is best to take your repair tools with you. This is so that you can repair the seals instantly rather than allow the problem to worsen.
You will need:
- Caulk
- Weatherstripping
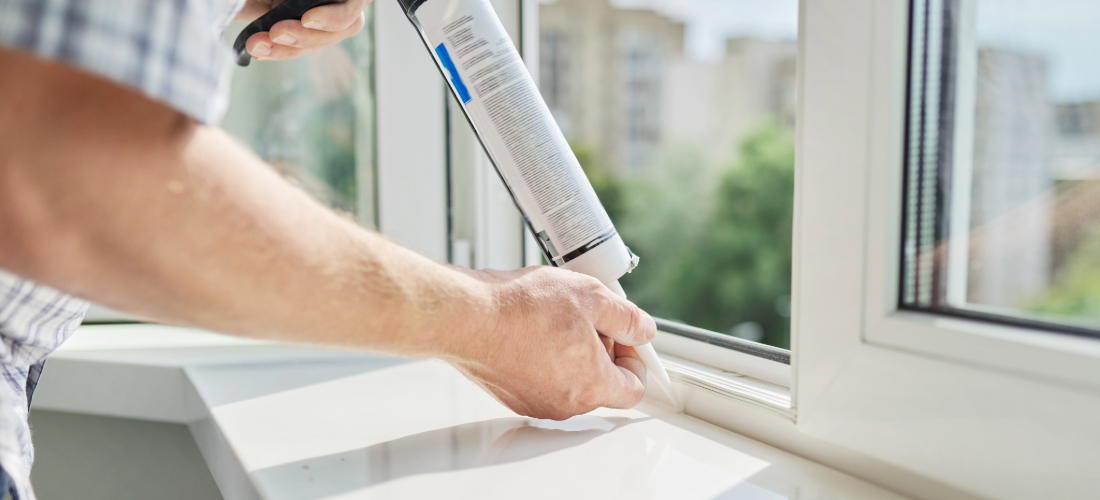
The first step is to inspect your window seals for damage. Check the seals around your windows for cracks, gaps, and peeling. These can all lead to drafts and energy loss, so it is important to get them sorted as quickly as possible, especially if it is late autumn, winter, or early spring.
If you do happen to find any damage, simply reseal the areas that require repair using your caulk. You may also need to replace worn weatherstripping. Make sure to choose the appropriate type of either for your window material – wood and uPVC windows, for example, require different types of caulks and, in some case, weatherstripping too.
Lubricating Moving Window Parts
You may have a window that lacks these features, but the overwhelming majority of household windows possess at least some form of moving mechanism. This can include hinges, locks, handles, and more. All of these components need to be able to move but can be susceptible to stiffening or even fully fusing in place if proper maintenance is not provided.
Luckily, keeping these important parts of your window open is simple and straightforward – in order to do it properly, you will need to following items:
- Silicone-based lubricant or window spray
- Soft cloth
It is best to test out the different mechanisms of your window around twice a month. This is especially crucial during the winter months, as this is when these components see the least use, and as such allows them to wear and stick in place. Even if it’s only for a minute or so, make sure to move the different mechanisms on each window at least twice a week.
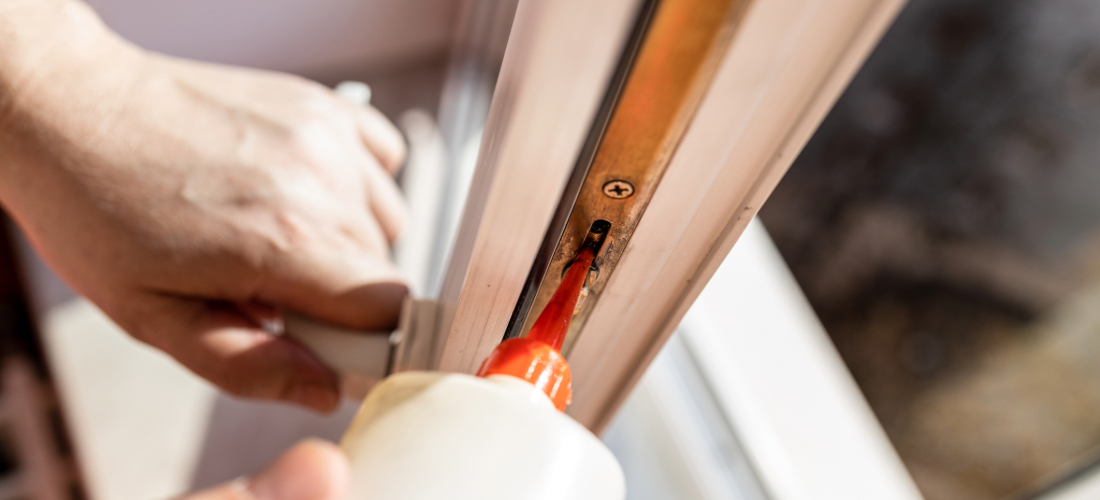
In order to keep your window moving properly, you will need to apply the lubricant every other month or so, though you may want to do it more often. To do this, follow these 3 simple steps:
- Identify the moving parts of your window.
- Apply a small amount of the silicone-based lubricant (or window spray) to each of the moving parts. Allow it to set in for a couple of minutes.
- Wipe away any excess formula to avoid getting the window dirty.
Once you have done this, open and close the window a few times to ensure there is improvement. This may not be instant, but operating the window in this manner will help to distribute the lubricant more evenly.
Window Screen Maintenance
For this step, all you’ll need is:
- A window screen repair kit
You may not even need to use it, but it’s a good idea to have one on hand anyway, as it will allow you to repair your window screen quickly and efficiently when needed. Luckily, it is easy to spot damage on window screens, with tears, holes, and bent frames all very obvious even to the untrained eye. Replacing or repairing them with a screen repair kit is also relatively simple and straightforward.
To repair your window screen, follow these simple steps:
- Check for any damage across the entirety of your screen. This should be done a couple of times a month. As mentioned, the most common signs of damage will be tears and holes.
- Follow the instructions on your screen repair kit if it is necessary to use one. All of these repair kits come with easy-to-follow steps, though methods of application may vary slightly between brands.
- Clean your new screen – and keep it maintained – by removing dust, dirt, and debris from the screen on a regular basis. Use a soft brush or a vacuum cleaner to do this.
Securing Window Hardware
All you may need for this is an appropriately sized screwdriver, and all you need to do is check over handles, locks, hinges, and other components that are secured by screws. If you find any, tighten them to ensure proper operation. If the screws are looking a bit weak or corroded, consider purchasing replacement ones of the appropriate size.
A Guide to Window Condensation

Window condensation can be very problematic, and excessive condensation can indicate a severe humidity problem within your home. Proper ventilation is the key to combating this issue. Many modern windows, especially roof windows, come with built-in ventilation. However, simply keeping your window slightly askew whenever possible will likely work too.
It is possible that there is more wrong with your window than just condensation, especially if you start finding pools of water on your windowsill or streams of droplets running down your panes. During heavy rain, check for signs of water seeping in and around the window frame. If you have leaks, you will want to seal up any gaps or cracks that may be allowing water to enter.
What if I Need an Expert?
There are plenty of window specialists that will be able to help out with the majority of the tasks we’ve covered, including giving them a wash. However, professionals cost money, and there is a lot of window maintenance that you can do yourself. The exception is when your window requires repair or replacement.
While these are processes that – in theory – can be completed by the homeowner or similarly skilled DIY enthusiast, it is safe to say that not everyone will be up to the task. Certain window repairs – and especially replacement – can be exceptionally costly and time-consuming, especially if you have no prior experience.
Contacting a professional does not need to be a lengthy or difficult task; there are plenty available through a quick google search. Alternatively, you can ask family, friends, and neighbours for recommendations. We suggest that you keep an eye on any and all reviews; getting a window specialist with a good reputation is an absolute must.
With all this information, you will hopefully be better equipped to carry out regular window maintenance, as well as repair any problems you may come across. If you are unsure, don’t hesitate to contact an expert, as they may be able to help sort your issue with a little assistance and guidance. Remember to follow our advice when seeking out a window professional.
We hope this guide has been of use, and that your window maintenance sessions run as planned. If you have any more questions on how to keep your windows looking their best, do not hesitate to contact our excellent customer services team. With plenty of experience and knowledge of all our products, they’ll do their best to help you out.
